
This little project came out of the necessity for a program that could be used to generate embedded images for use in Adafruit TFT screens. This program converts any .PNG image into a constant char array that can be included and shown directly on screen. This program and accompanying code can show either packed color RGB 565 or monochrome bitmaps (custom foreground and background colors) on the ST7735R driver. These were tested on a 1.44″ Color TFT LCD Display and are substantially much faster than the stock bitmap drawing routines.

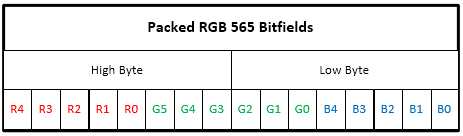
This screen wants data in a packed RGB 565 format. That means that each pixel requires 16 bits of information as shown below.
We will take this into consideration later on when dealing with the conversion of images. I was unhappy with the way the original Adafruit library drew bitmaps to the screen by drawing pixel by pixel by setting the coordinates of the window. This was the original code for drawing bitmaps:
void Adafruit_GFX::drawBitmap(int16_t x, int16_t y,
			      const uint8_t *bitmap, int16_t w, int16_t h,
			      uint16_t color) {

  int16_t i, j, byteWidth = (w + 7) / 8;

  for(j=0; j<h; j++) {
    for(i=0; i<w; i++ ) {       if(pgm_read_byte(bitmap + j * byteWidth + i / 8) & (128 >> (i & 7))) {
        drawPixel(x+i, y+j, color);
      }
    }
  }
}
At a first glance it seems ok for single color bitmaps. Quite compact and to the point. It simply draws each pixel based on a bit mask for a packed byte array, there is a problem with this approach though. The problem is in the drawPixel function itself.
void Adafruit_ST7735::drawPixel(int16_t x, int16_t y, uint16_t color)
{

    if((x < 0) ||(x >= _width) || (y < 0) || (y >= _height)) return;

    setAddrWindow(x,y,x+1,y+1);

    _rs = 1;
    _cs = 0;

    spi_port.write( color >> 8 );
    spi_port.write( color );

    _cs = 1;
}
The draw pixel sets the drawing area first and then writes the data to the pixel. Since the screen uses packed RGB 565 each pixel requires 2 bytes to be written. However, setting the address window requires 11 writes to the SPI port. This can be seen below.
void Adafruit_ST7735::setAddrWindow(uint8_t x0, uint8_t y0, uint8_t x1,
                                    uint8_t y1)
{

    writecommand(ST7735_CASET); // Column addr set
    writedata(0x00);
    writedata(x0+colstart);     // XSTART
    writedata(0x00);
    writedata(x1+colstart);     // XEND

    writecommand(ST7735_RASET); // Row addr set
    writedata(0x00);
    writedata(y0+rowstart);     // YSTART
    writedata(0x00);
    writedata(y1+rowstart);     // YEND

    writecommand(ST7735_RAMWR); // write to RAM
}
That means that when drawing a bitmap only 2 out of every 13 bytes is actual pixel data (~15% efficiency). Instead of doing that, we could instead set the address window only once and transmit the whole block of pixels. The function shown below works for full color images.
// fill a rectangle
void Adafruit_ST7735::bitmap(int16_t x, int16_t y, int16_t w, int16_t h,
                               const unsigned char *map )
{

    //---[ Basic clipping ]--------------
    if((x >= _width) || (y >= _height)) return;
    if((x + w - 1) >= _width)  w = _width  - x;
    if((y + h - 1) >= _height) h = _height - y;

    setAddrWindow(x, y, x+w-1, y+h-1);

    _rs = 1;
    _cs = 0;
    for(y=0; y<h; y++) {
        for(x=0; x<w; x++) {
            spi_port.write( map[ y*w*2 + x*2 ] );
            spi_port.write( map[ y*w*2 + x*2 + 1] );
        }
    }

    _cs = 1;
}
In order to use this function, we need to have a byte array that fits the packed RGB structure that I showed earlier in the post.

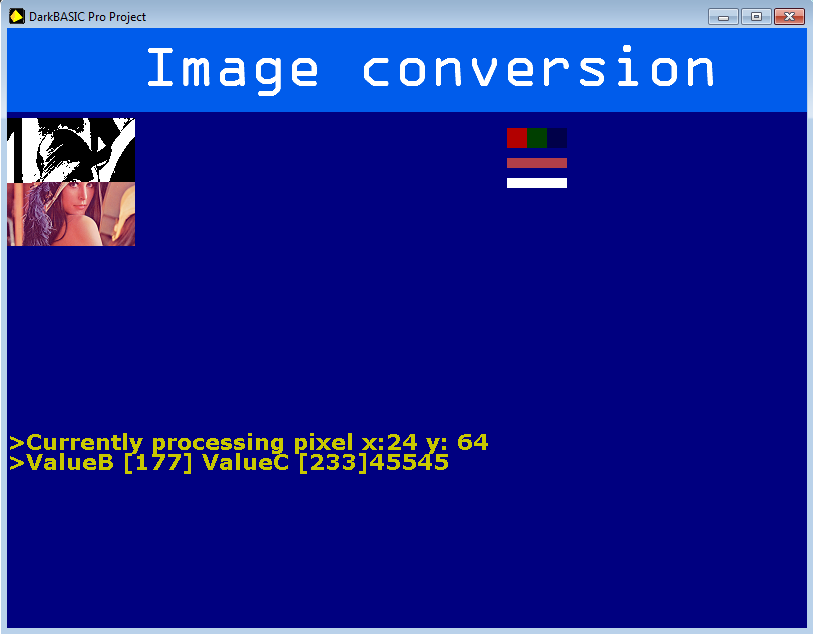
I made an application in DarkBasic that handles this and also does some animations while doing the conversion. This program will search for a file named “input.png” in the current directory and will output a file called “converted.txt”. For illustration purposes I used the famous (or infamous) Lena Söderberg image used widely in image experiments and ran it through the software.
The output of the program looks like this:
/**================================================+
* Auto generated image |
*+================================================*/
const unsigned char IMAGE[32768]= {
228, 80, 228, 47, 228, 79, 220, 46, 220, 78, 220, 13, 220, 13, 220, 14, 228, 13, 228, 78, 236, 142, 236, 207, 236, 174, 236, 110, 219, 205, 194, 139, 153, 235, 154, 11, 162, 75, 178, 75, 178, 106, 170, 107, 178, 107, 178, 106, 178, 107, 178, 74, 178, 139, 186, 171, 194, 171, 194, 235, 202, 235, 203, 11, 203, 44, 202, 236, 203, 77, 203, 11, 203, 11, 203, 43, 203, 11, 203, 76, 211, 11, 203, 44, 211, 44, 211, 44, 203, 44, 203, 43, 211, 76, 203, 44, 203, 76, 211, 76, 203, 76, 203, 76, 203, 77, 203, 44, 203, 44, 203, 11, 203, 44, 203, 44, 203, 44, 211, 11, 211, 44, 211, 76, 211, 43, 203, 44, 203, ...
,...
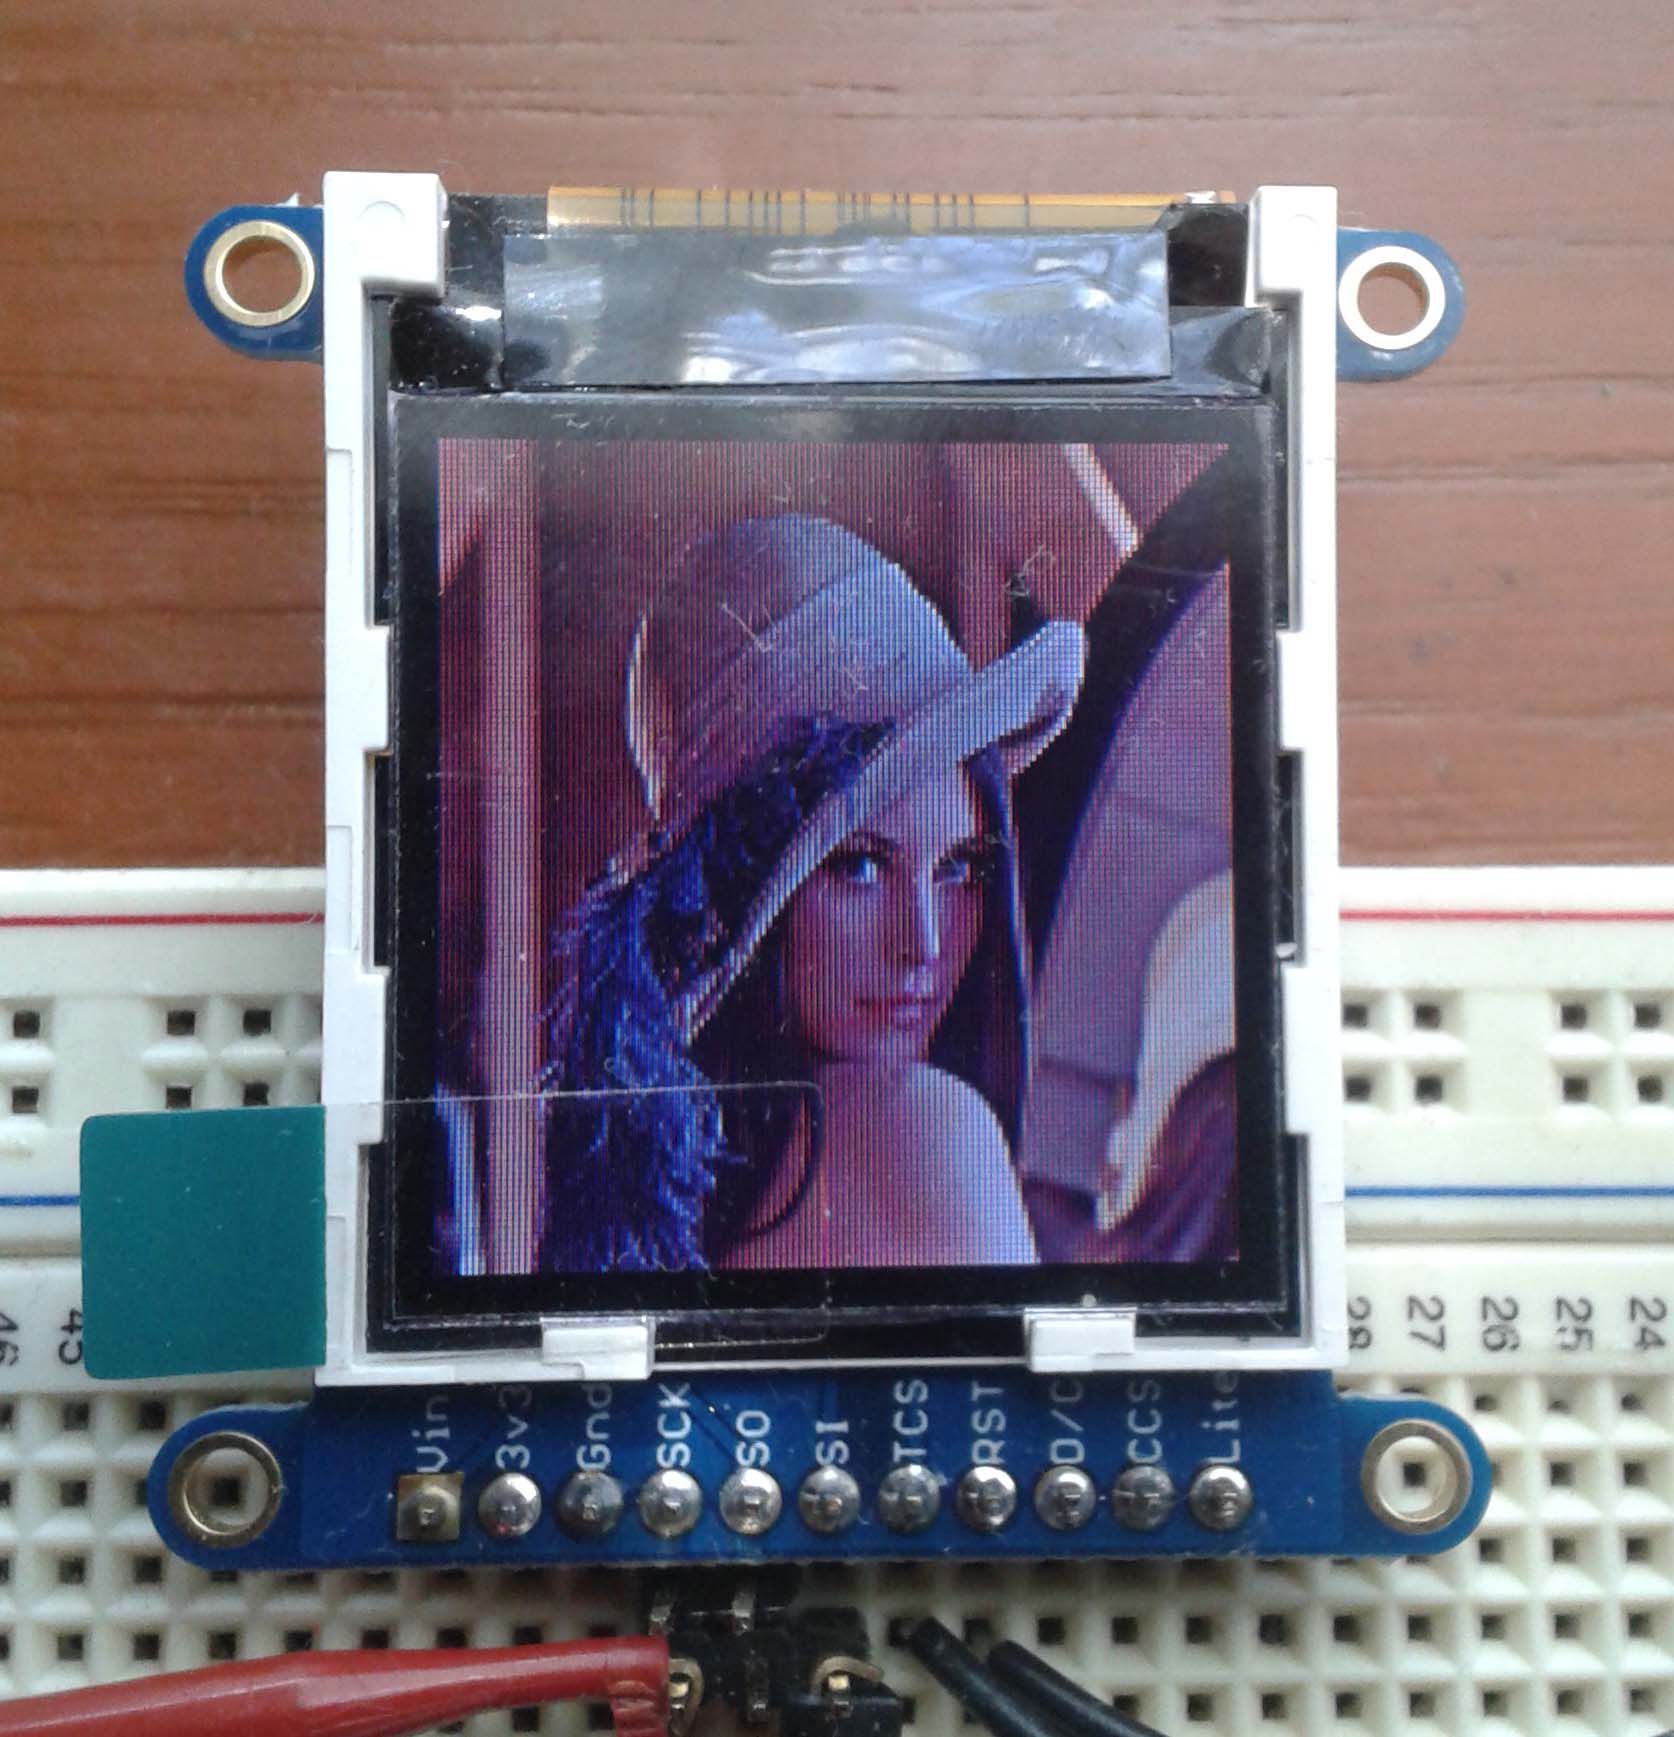
};After using the function outlined above, this is what shows on the screen.
The converter can be found in these mirrors:
http://www.mediafire.com/download/7mecm0je5y8pqgi/Image_Converter_Adafruit.rar
The mbed library can be found here:
http://developer.mbed.org/users/AlfredoER/code/Adafruit_ST7735/
I’ll also upload a modified version that also draws very quickly but for only 1 color, using only a 16th of the space that this method requires!
Thank you, great jop>
Very good, great explanation , thank you.